Home Made Beeswax Wraps
- Nat AKA Decor NATion
- Feb 18, 2018
- 3 min read
Be prepared to get wax everywhere! I would suggest if you are going to attempt this then you should wear some gloves.... I didn't! Mistake number one!

Good news is I have made all the mistakes, so hopefully, you don't.

Materials:
- Cotton squares cut with pinking shears
- Beeswax
- Paintbrush for spreading wax (make sure it's not a good one because you won't be able to use it afterwards)
- Cheese grater (Some boiling hot water will melt the wax off afterwards)
- Baking paper
- Baking tray
- Oven

I tried two methods:
1. Grating the beeswax > sprinkling this onto the cloth > Melting it in the oven.
2. Melting the wax in a double broiler > Brushing this onto the cloth > Layering cloth up in oven and melting some more.
I found the second one worked best as I was able to get good wax coverage.
METHOD ONE - GRATE THE WAX, THEN MELT IN THE OVEN
Grate your bees wax (It is not as easy as grating cheese! Put some elbow grease into it)

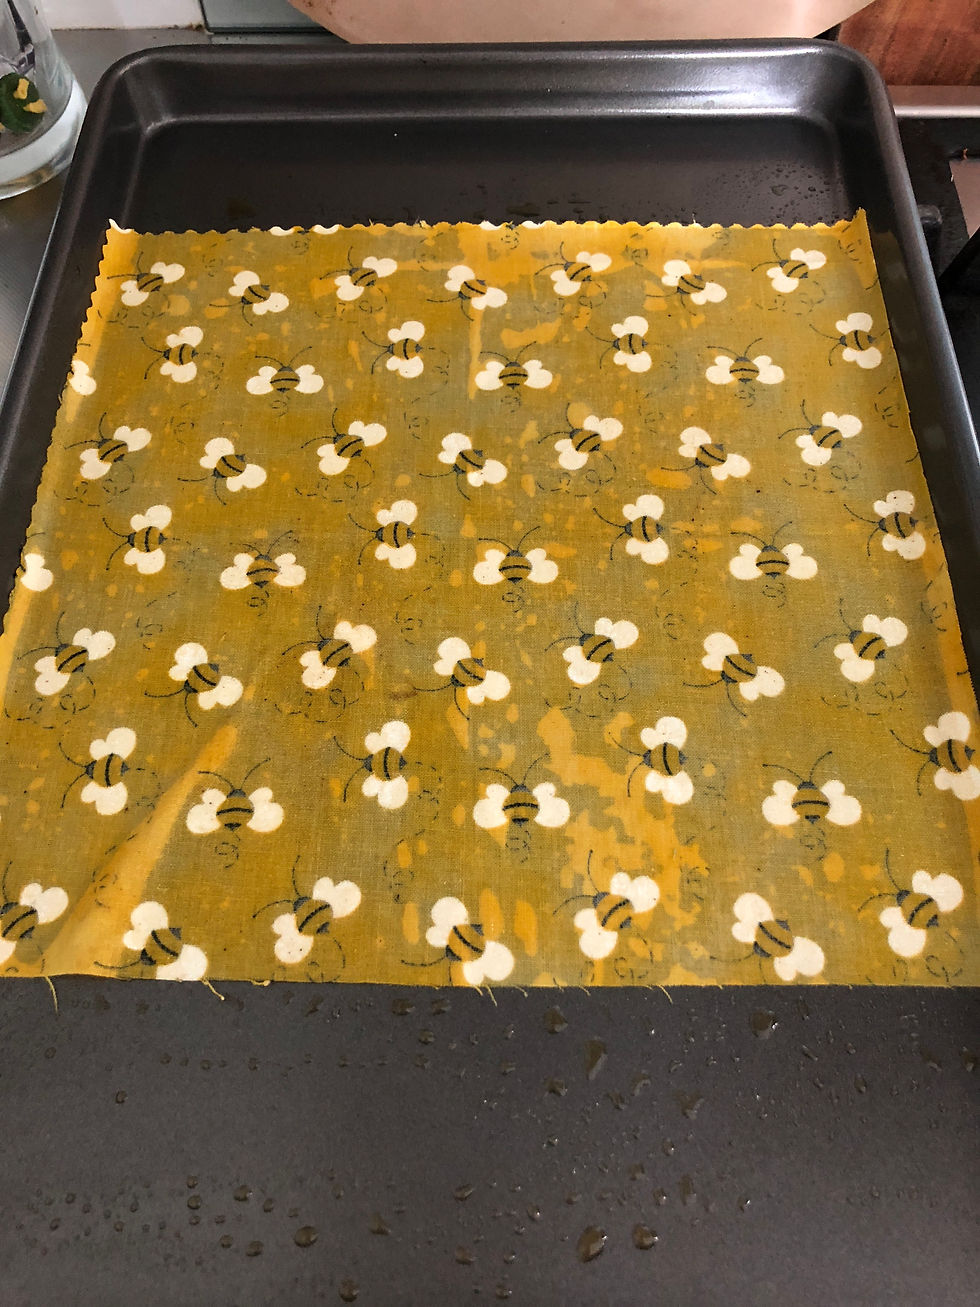
Lay your first piece of cotton onto baking paper in a baking tray. Sprinkle the wax onto the cloth as evenly as possible.


Heat the oven to 85 degrees. Once it's warmed up then put your tray in. It will not take long for the wax to melt. Once melted, get ready to work quickly with the brush to even out the wax.

Mistake number two - Sieve the beeswax..... Mine had heaps of dead bee bits in it! All good, adds a little extra protein! This brushed off but made the first two wraps a little grainy.

Finally hang them out on the line to dry!

METHOD TWO - MELT THE WAX IN A POT, THEN APPLY TO THE CLOTH
Set up a double broiler so that you can safely melt the wax without burning it.

Melt the wax.

Pre heat your oven and oven tray to 85 degrees. The warm oven tray helps keep the wax warm when you apply it to the cloth, making it easier to work with.
Once the wax is melted in your double broiler and your oven tray is warmed to 85 degrees, you are ready to start.
Pull the tray out of the oven and line it with the baking paper and your first piece of cloth. Grab your brush and dip it in the wax. Start brushing the wax evenly over the cloth. Work quickly as the wax hardens very fast.


Mistake number three - The wax is already starting to harden in these images. I had not pre heated the oven tray so it was too cold for the wax. As soon as I brushed it on it hardened. So I just popped it in the oven like this anyway.


After about 5 minutes in the oven the wax will have melted evenly over your piece of cloth. Use your brush to even out any patches. Apply more wax if needed. Layer your second cloth on top of this one. Use the brush to smooth out the second layer and help it absorb the excess wax from the first layer.
Mistake number four - I started doing one wrap at a time and when I pulled it off the tray to dry, it had way too much wax on it. By layering them up they evenly absorb all the wax so you aren't left with chunky flaking wax on your wraps!

You can see the melted wax from the first layer seeping through to the second layer in these images.

Apply more wax with the brush if you need to. Then return to the oven to melt through.


Once both layers have even melted wax on them, pull them out of the oven, apply another layer of cloth and let that absorb any excess wax. Use your brush to add more wax to the third layer (especially the edges, these can be quite dry).
Pop the tray back in the oven.
I continued this layering process with 5 wraps. Once I was satisfied with the wax absorption into the material I separated the clothes and hung them up to dry.
TIP: Make sure you seperate these fast as the wax will dry and stick to the other cloths. Then you will have thicker parts of wax on some cloths resulting in a patchy beeswax wrap.
OK, that wasn't a tip..... That was mistake number Five!


These are great for covering avocados, they last for ages in the fridge! Perfect for wrapping up sammies for lunch or wrapping around a bowl of leftovers.
The beeswax has natural antibacterial properties which will keep your food fresh. To help them last longer, wash them with cold water and a sponge. Hot water and soap will melt the wax.
Enjoy a plastic free life!


Comments